School of Fashion Design Labs
Welcome to the Department of Fashion Design at SOET, DRIEMS University. It is a pleasure to welcome you as you explore the world of creativity, innovation, and style that defines our department. Whether you’re a budding designer, a current student, or a collaborative partner, we invite you to be part of our dynamic and inspiring community. In today’s ever-evolving fashion landscape, design is more than just aesthetics—it’s a powerful form of expression that blends culture, technology, and sustainability. Our department is dedicated to nurturing the next generation of creative thinkers and trendsetters. We offer a comprehensive education that bridges traditional craftsmanship with modern techniques, including fashion illustration, textile innovation, digital design, sustainable fashion, and global fashion marketing. Join us as we shape the future of fashion with passion, precision, and purpose.
Staff
Mrs. Subhashree Tripathy
Lab Instructor
Email: subhashreetripathy@driems.ac.in
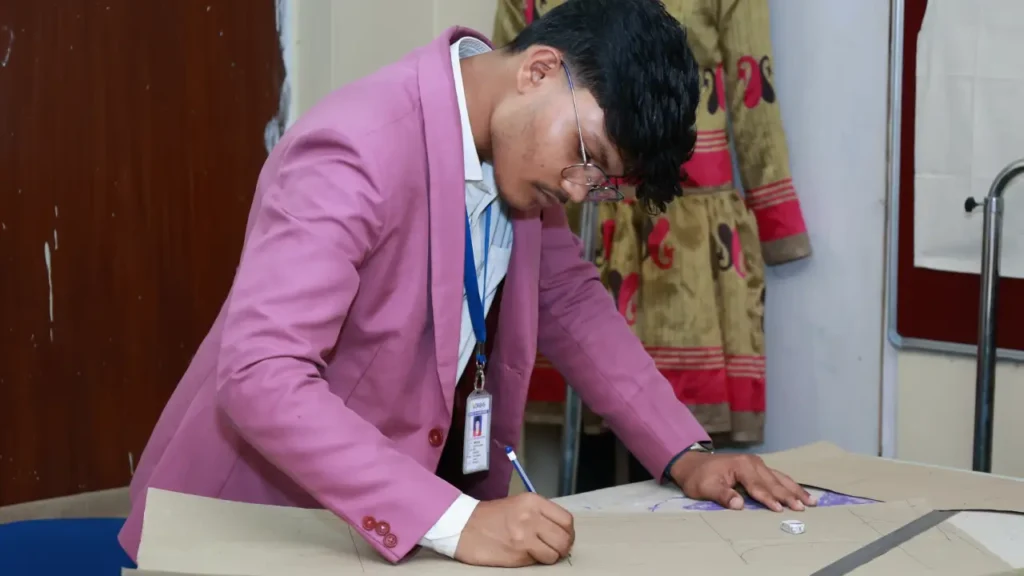
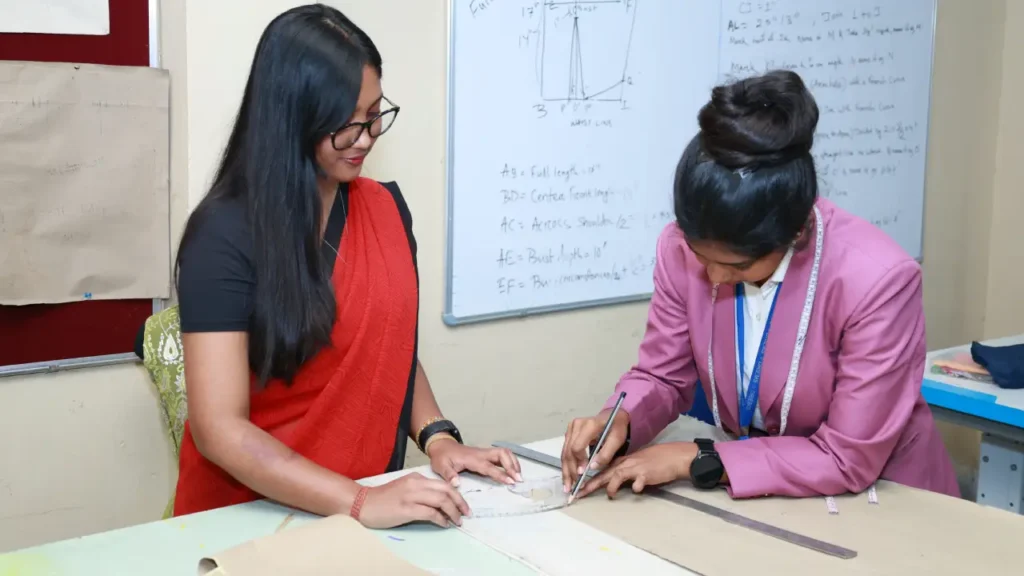
Pattern making lab
A Pattern Making Lab is a place where patterns for garments, accessories, or other textile products are created, tested, and perfected before the actual production process begins. Pattern making is an essential part of the fashion design and garment manufacturing process, as it helps ensure that the designs are translated accurately into physical products.
In a typical pattern making lab, you might find various tools and equipment, such as:
- Pattern Paper: Large sheets of paper used to sketch and cut out patterns.
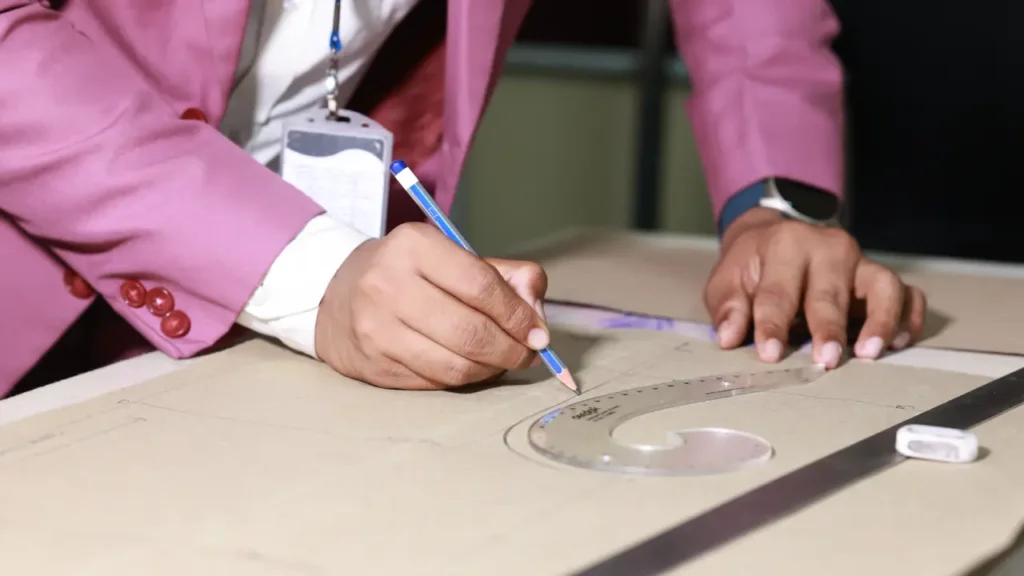
- Rulers and French Curves: For making precise measurements and creating smooth, curved lines.
- Scissors or Rotary Cutters: For cutting the paper patterns accurately.
- Weights and Pins: To hold the pattern paper in place while cutting fabric.
- Dress Forms: To test and fit patterns to a 3D model, allowing designers to see how the garment will fit and look on a body.
- Sewing Machines: To sew sample garments or muslins to check the fit and construction of the pattern.
- Notches, Darts, and Other Markings: To mark important details on the pattern, this will guide the construction of the garment.
The process typically involves:
- Creating a Basic Block: A simple pattern that forms the basis of all designs.
- Modifying the Block: Adding design elements such as sleeves, necklines, pleats, and other details.
- Making a Muslin or Sample Garment: A mock-up of the design made from inexpensive fabric to test the fit and make any adjustments.
- Finalizing the Pattern: After adjustments are made based on the muslin fitting, the final pattern is drawn up and is ready for use in production.
Pattern making is crucial for ensuring the fit, style, and functionality of a garment, and it requires both technical skills and creative expertise.
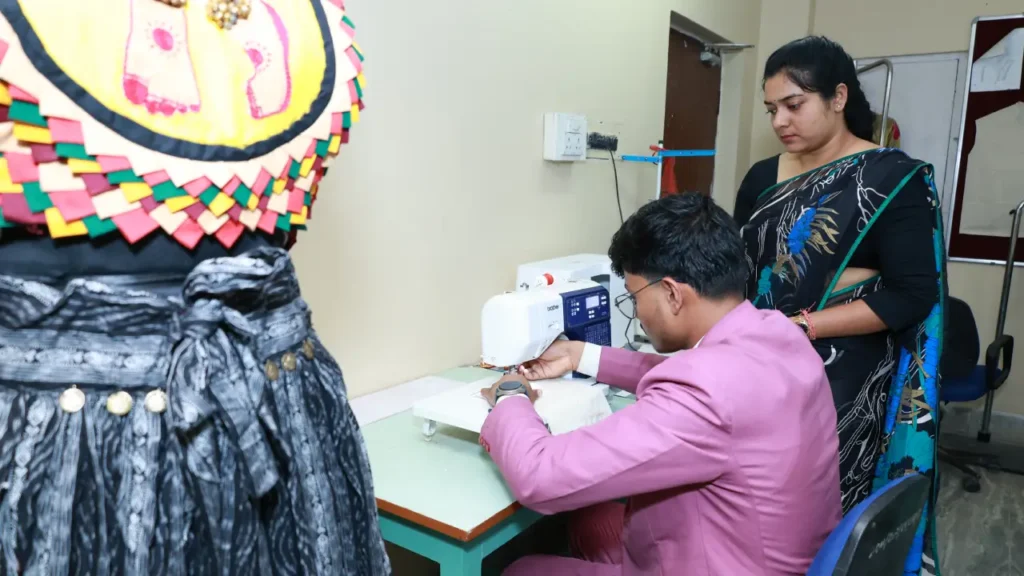
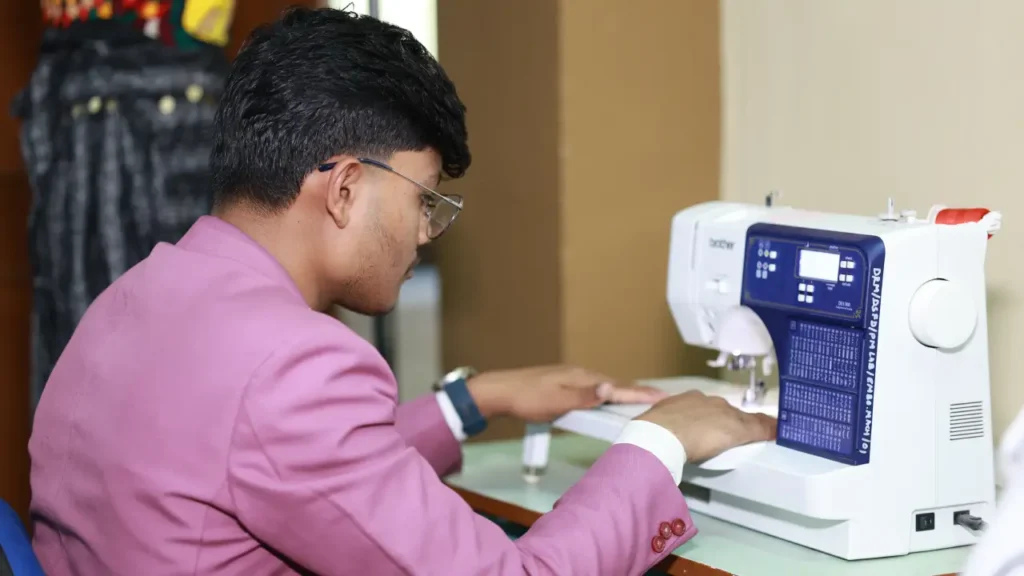
Garment construction lab
A Garment Construction Lab is a specialized space designed for creating and assembling garments from fabrics, patterns, and other materials. It focuses on the practical aspects of garment production, allowing students, designers, or manufacturers to take their pattern designs and transform them into actual wearable clothing through sewing, stitching, and finishing techniques. These labs are typically found in fashion design programs, technical schools, and in professional garment manufacturing environments.
In a Garment Construction Lab, you will usually find the following tools, equipment, and processes involved in the construction of garments:
Tools and Equipment:
- Sewing Machines:
- Industrial sewing machines (for high-speed production).
- Home sewing machines (for more detailed or sample work).
- Specialized machines for different tasks like overlock (sergers), blind hems, or buttonholes.
- Cutting Tables: Large, flat surfaces used to cut fabric according to the pattern pieces, usually equipped with grids or rulers to help with accurate measurements.
- Ironing and Pressing Equipment:
- Ironing boards and steam irons are essential for pressing seams and finishing the garment.
- Pressing hams and tailor’s clappers are used for shaping and setting seams.
- Measuring Tools:
- Measuring tapes for taking fabric and garment measurements.
- Rulers, French curves, and pattern weights to ensure precision when cutting and assembling.
- Mannequins or Dress Forms: Used to test the fit and design of garments as they are being constructed. These allow you to adjust fit, design details, and overall silhouette.
- Cutting Tools:
- Rotary cutters or fabric shears for cutting fabric precisely.
- Scissors for trimming excess threads or small details.
- Thread and Needles:
- A variety of threads (cotton, polyester, etc.) depending on the fabric type.
- Different needle types to suit specific fabrics (e.g., ballpoint needles for knits, universal needles for woven fabrics).
- Pins, Clips, and Basting Tools: To temporarily hold the fabric pieces together before final sewing.
Key Processes Involved in Garment Construction:
- Fabric Preparation:
- Pre-washing or ironing fabrics to prepare them for sewing.
- Cutting out pattern pieces accurately according to the design.
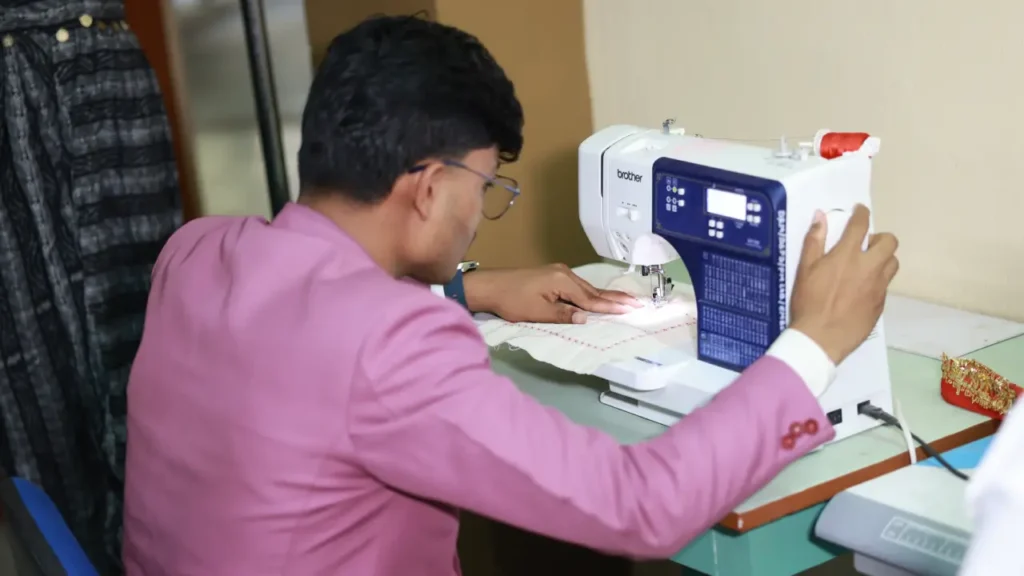
- Sewing:
- Following the garment pattern to stitch together the fabric pieces, such as assembling the bodice, sleeves, and skirt parts.
- Using different types of stitches depending on the garment (e.g., straight, zigzag, or decorative stitches).
- Fitting:
- Trying the garment on a dress form or mannequin (or on a model) to test the fit.
- Adjusting pattern pieces or making minor alterations to the garment for a better fit.
- Finishing:
- Adding finishing touches like hemming the edges, attaching zippers, buttons, or fastenings.
- Using techniques such as overlocking or binding the edges of seams to prevent fraying and ensure durability.
- Pressing and Final Touches:
- Pressing all seams to ensure a smooth, polished appearance.
- Adding labels, tags, and final details like hand-finishing or embellishments.
Skills Developed:
- Sewing Techniques: Mastering the use of different sewing machines and hand-sewing techniques.
- Pattern Assembly: Understanding how to construct garments based on pattern designs.
- Fit Adjustments: Learning how to adjust patterns and garments to achieve a proper fit.
- Attention to Detail: Refining skills in stitching, finishing, and garment details for professional-quality work.
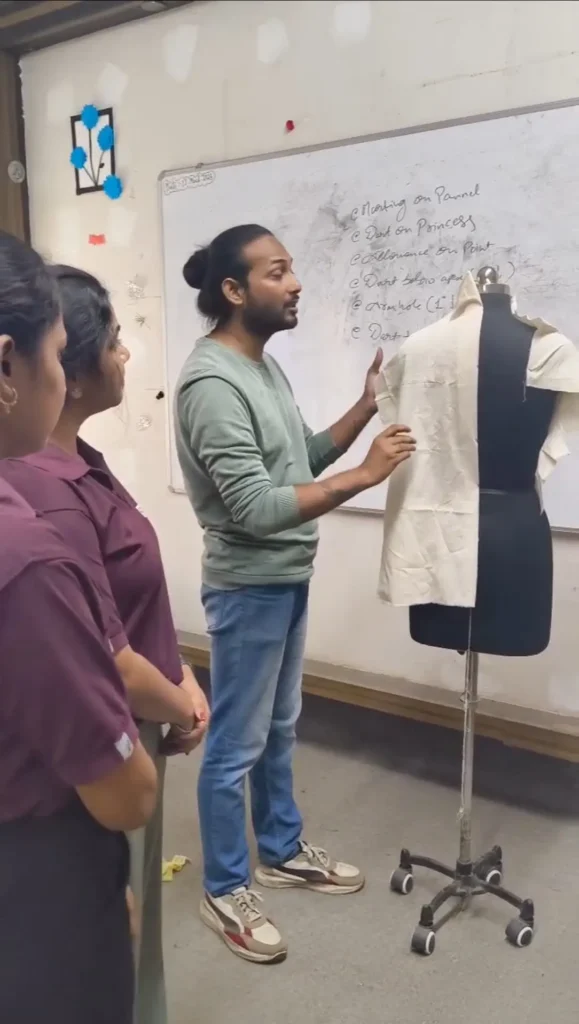
Draping lab
A Draping Lab is a dedicated space where fashion designers and students practice the technique of draping, which involves arranging fabric on a dress form or mannequin to create a garment’s design. This method is especially useful for creating custom, 3D patterns that flow with the natural curves of the body, making it ideal for designing complex or fluid garments. The technique allows designers to see how the fabric interacts with the body in real-time, which helps in achieving more accurate designs and better fit.
In a Draping Lab, you will typically find a variety of tools, equipment, and materials used in the draping process:
Tools and Equipment:
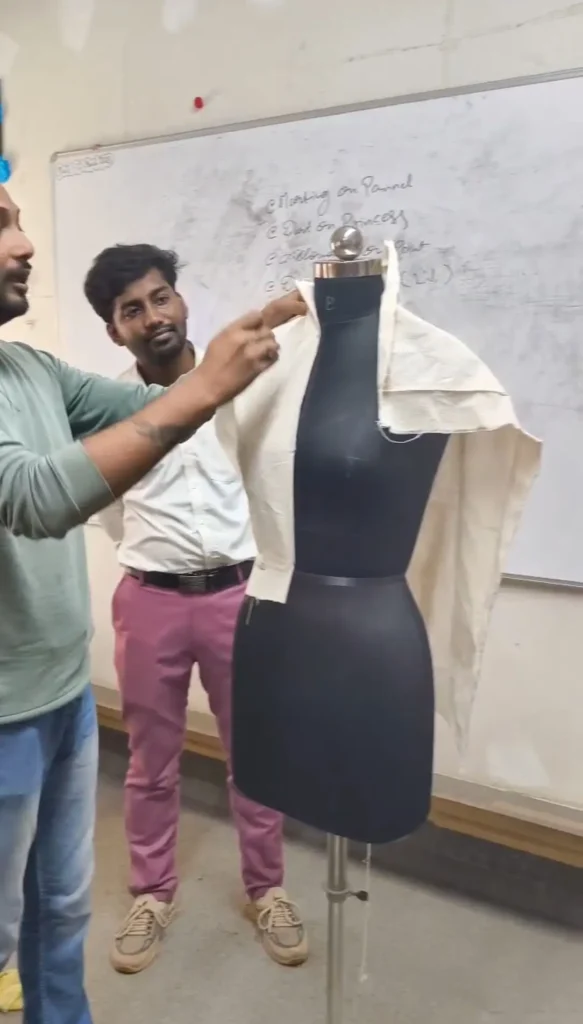
- Dress Forms or Mannequins:
- These are adjustable or fixed mannequins that mimic human body shapes and allow designers to drape fabric onto them to visualize the fit and structure of a garment.
- They may come in different sizes and shapes, including for specific body types (e.g., male, female, petite, tall, etc.).
- Fabric:
- Draping requires a variety of fabrics, including muslin, silk, wool, cotton, and synthetic fabrics, depending on the desired effect and garment.
- Muslin is typically the fabric of choice for draping experiments because it is inexpensive, easy to manipulate, and provides a clean surface for the design process.
- Pins and Draping Tools:
- Pins or draping pins are used to temporarily hold the fabric in place while adjusting.
- Draping tape can be used for marking certain parts of the fabric without leaving permanent marks.
- Draping weights can be used to help keep the fabric in place, especially for heavier materials.
- Scissors and Cutting Tools:
- Scissors are used to cut fabric during the draping process when adjustments or modifications are needed.
- A rotary cutter or pinking shears may be used for precision cutting or creating finishes.
- Measuring Tape and Rulers:
- A measuring tape is essential for taking body measurements, ensuring the correct fit during the draping process.
- A ruler or French curve is used for shaping and ensuring even, symmetrical drape.
- Marking Tools:
- Tailor’s chalk, dressmaker’s pencils, or fabric markers help create markings on the fabric for reference, such as seam lines, darts, and design lines.
- Iron and Steaming Equipment:
- An iron or steamer is used to press the fabric into place as it is draped, to achieve crisp lines, seams, and to smooth out wrinkles.
- Mannequin Stands: Adjustable stands may be used to position the dress forms or mannequins at a suitable height for comfortable draping.
Key Processes in Draping:
- Preparation of the Dress Form:
- Start by ensuring the dress form is adjusted to the correct size and shape. Sometimes, a padded dress form is used to represent specific body measurements.
- Fabric Draping:
- Fabric is cut into sections (often large enough to flow over the form) and draped piece by piece over the dress form.
- The fabric is pinned, arranged, and manipulated to follow the desired lines and structure of the garment. This can involve experimenting with pleats, folds, gathers, and other fabric manipulations.
- Designing the Shape:
- As the fabric is draped, the designer makes creative decisions about the garment’s silhouette, structure, and details.
- The designer might add or remove fabric, pin in darts for shaping, or create gathers and pleats for visual interest or structure.
- Marking and Refining:
- Once the fabric is arranged in the desired shape, the designer uses markers or chalk to trace along the edges of the draped fabric to create the pattern lines.
- This is the point where the draped design is finalized before moving on to pattern-making or sewing the garment.
- Creating the Pattern:
- After the design is finalized on the dress form, the designer carefully marks the fabric and transfers the draped design into a flat paper pattern that can be used for cutting the final garment.
- This process involves carefully removing the fabric from the dress form and tracing the design lines onto pattern paper.
- Testing the Fit:
- Often, the design is tested on the form multiple times, and adjustments are made to ensure that the final garment fits and flows as desired.
- Designers may need to make further modifications to the fabric before finalizing the design.
Skills Developed in a Draping Lab:
- 3D Design Thinking: Draping encourages designers to work with fabric in three dimensions, helping them think about shape and structure.
- Creativity and Innovation: Draping allows for free-flowing creative expression and experimentation with fabrics and textures.
- Fit and Proportion: By physically manipulating fabric, students and designers learn how to create garments that fit well and flatter the body.
- Pattern Making: Draping directly informs the pattern-making process, as the draped garment can be converted into a flat pattern.